A gutter that overflows onto a park home may look like a small maintenance issue, but repeated water run-off can stain cladding, soak the ground around the base and place unnecessary strain on roof-edge materials. To replace park home guttering safely, the work needs more than a new length of plastic and a ladder. It needs a clear assessment of the roofline, secure access and fittings suited to the home’s construction.
Guttering can leak because joints have dried out, brackets have moved, a downpipe is blocked or the fall is wrong. Replacing the complete system without checking these points can leave the same problem in place.
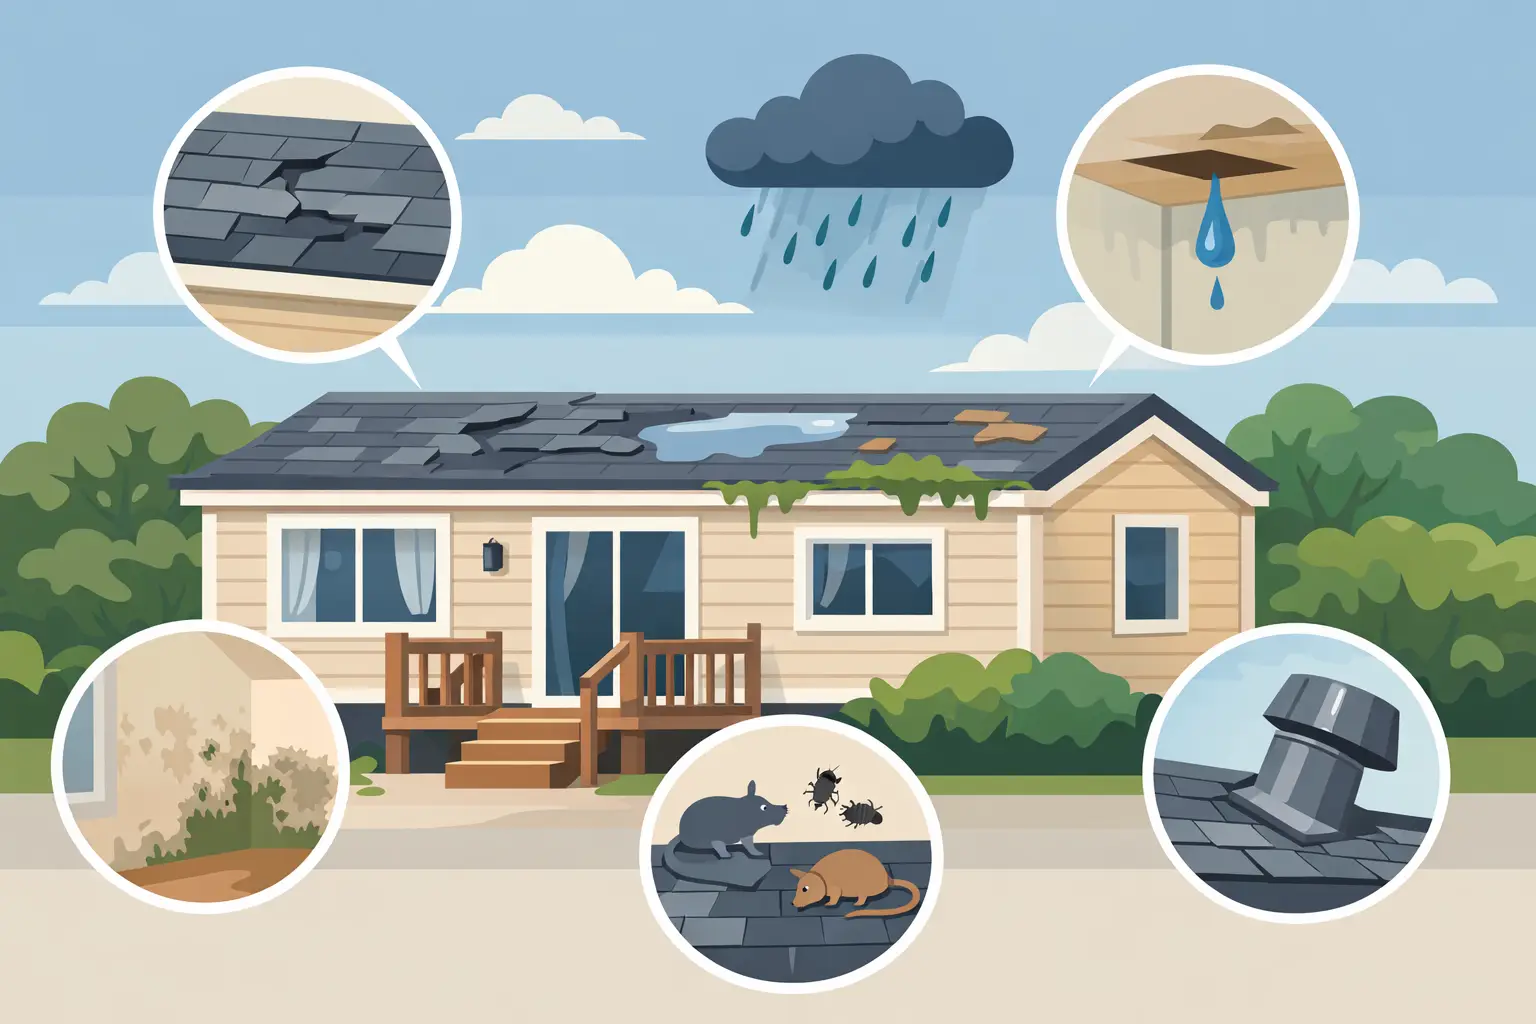
Walk around the home during or shortly after rain if possible. Look for water spilling over the front edge, drips from joints, staining beneath the gutter and pooling at the base of the home. Also check whether the downpipe discharges into a working drain or simply releases water too close to the structure.
Park homes have a lighter, more specialised construction than a conventional brick property. Fascia boards, roof edge trims and external cladding must be treated carefully. A loose gutter bracket may be the visible fault, while the real issue is deteriorated timber behind the fascia or a roof covering that no longer directs water cleanly into the gutter.
If the fascia is soft, split or pulling away, stop before fitting new guttering. New brackets will only be as secure as the surface beneath them. The affected roof-edge section may need repair first.
Working at height is the main risk in this job. Never balance a ladder on soft ground, paving that rocks or blocks used as makeshift supports. Avoid working alone, particularly when carrying long gutter lengths or trying to position a downpipe.
A properly positioned ladder should stand on firm, level ground and be secured where possible. It should extend sufficiently above the working point to allow a safe handhold. Do not lean a ladder against the gutter itself, as this can crack the profile, dislodge brackets and damage the fascia. A ladder stand-off can keep the ladder clear of the gutter while spreading its load more safely against a sound wall or roof-edge area.
Take particular care around entrance canopies, bay sections and low rooflines, where it can be tempting to step from a ladder onto the roof. Park home roofs are not designed as general working platforms. Their structure and coverings can be damaged by concentrated weight, and a damp or ageing surface can be extremely slippery.
For longer runs, awkward ground or homes with difficult access, a tower scaffold or professional access equipment is often the safer choice. This adds cost, but it gives the installer a stable place to work and allows the gutter line to be set accurately rather than rushed from a ladder.
Before beginning, check the weather forecast. Wind makes handling long sections difficult, while rain hides whether joints are properly seated and turns access equipment into a hazard. Choose a dry, calm day with good daylight.
Most replacement systems for park homes use uPVC because it is practical, low maintenance and available in colours that work with modern cladding and trims. Black, white, brown and anthracite grey are common choices. The right colour is worth considering because guttering is a visible part of the exterior finish, especially on a well-kept residential park.
The profile and capacity matter as much as appearance. A standard half-round system can be suitable for modest roof areas, but a larger capacity profile may be needed where the roof has a long slope, a wide span or receives heavy run-off. Fitting an undersized system is a false economy if it overflows in a downpour.
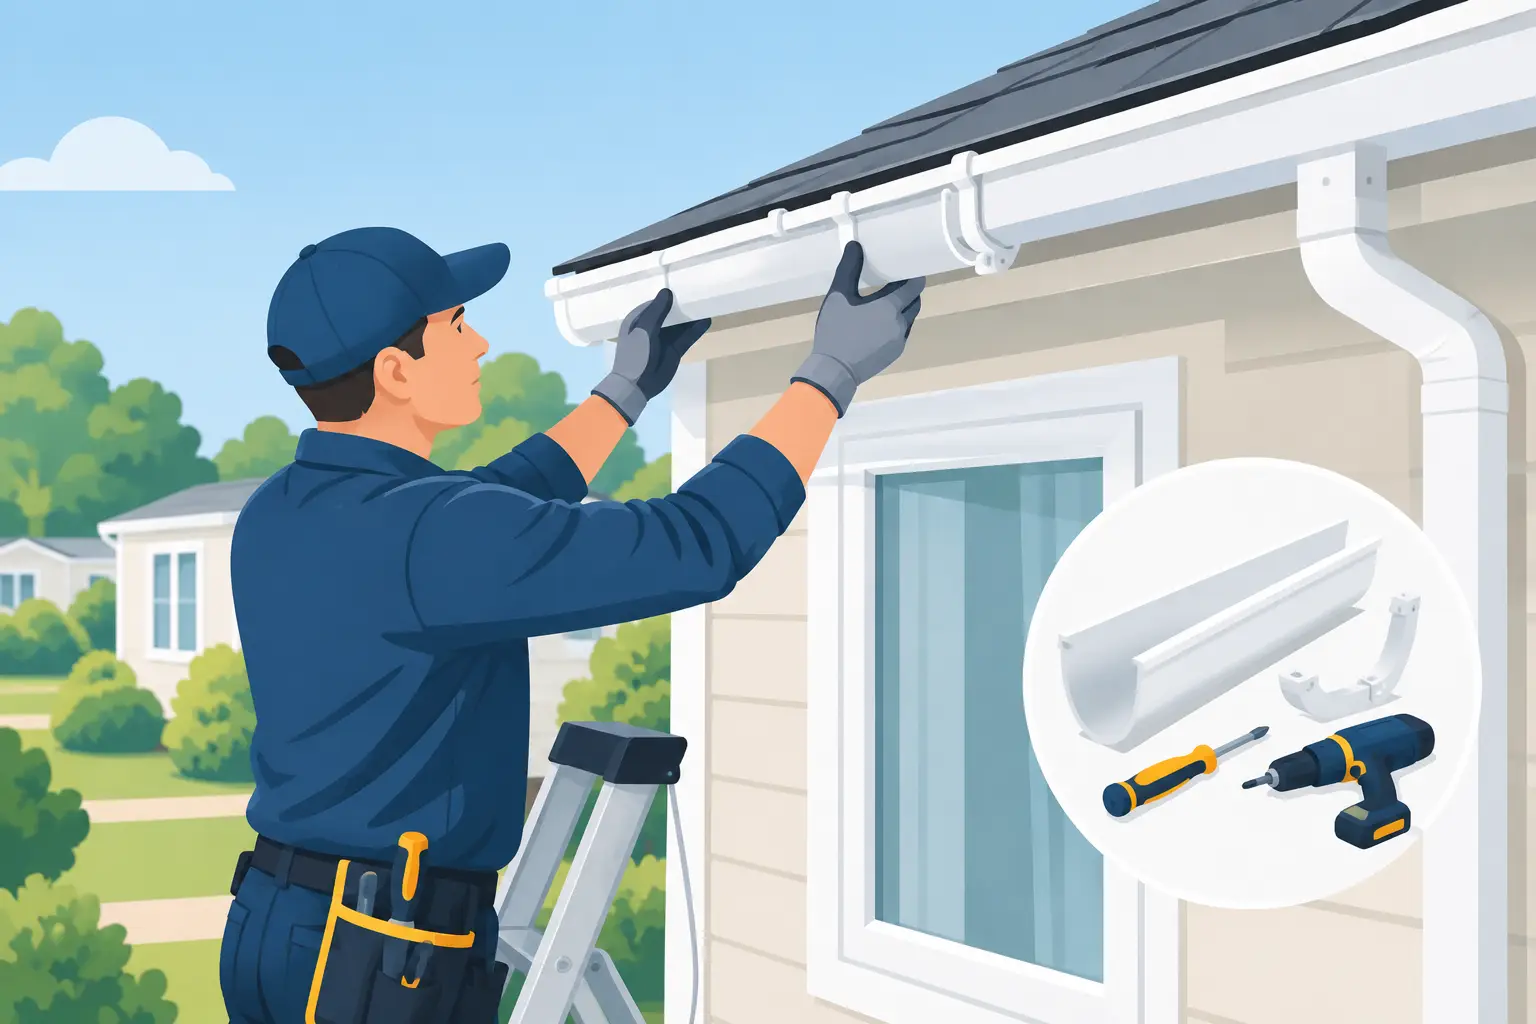
Use compatible parts from one guttering range. Mixing brands can lead to poor-fitting seals, misaligned brackets and leaks that only appear after the first heavy rain. Allow for expansion too. Plastic guttering moves with changes in temperature, so each length must sit within its insertion marks rather than being forced tightly against a fitting.
A downpipe should be positioned to carry water away effectively without obstructing doors, paths or access around the home. If the existing drainage point is unsuitable, it may be better to alter the layout than recreate a poor arrangement simply because it was there before.
Clear the old gutter first. Leaves, moss and standing water make it heavier than expected, and debris can fall onto paths or planting below. Place a sheet or container beneath the working area to catch dirt and old fittings.
Remove downpipes and gutter lengths in manageable sections. Long lengths can flex and twist, so have another person support the free end rather than pulling against a joint or bracket. Take care not to wrench brackets from the fascia, particularly if the fixing points show signs of age.
Once the system is down, inspect every fixing location. Old screw holes may be enlarged, damp or too close to the edge of the fascia to reuse safely. Loose material should be repaired, not covered with a larger bracket. This is also the right time to clear any debris trapped behind the gutter and check the roof covering at the eaves for lifting, cracking or worn seals.
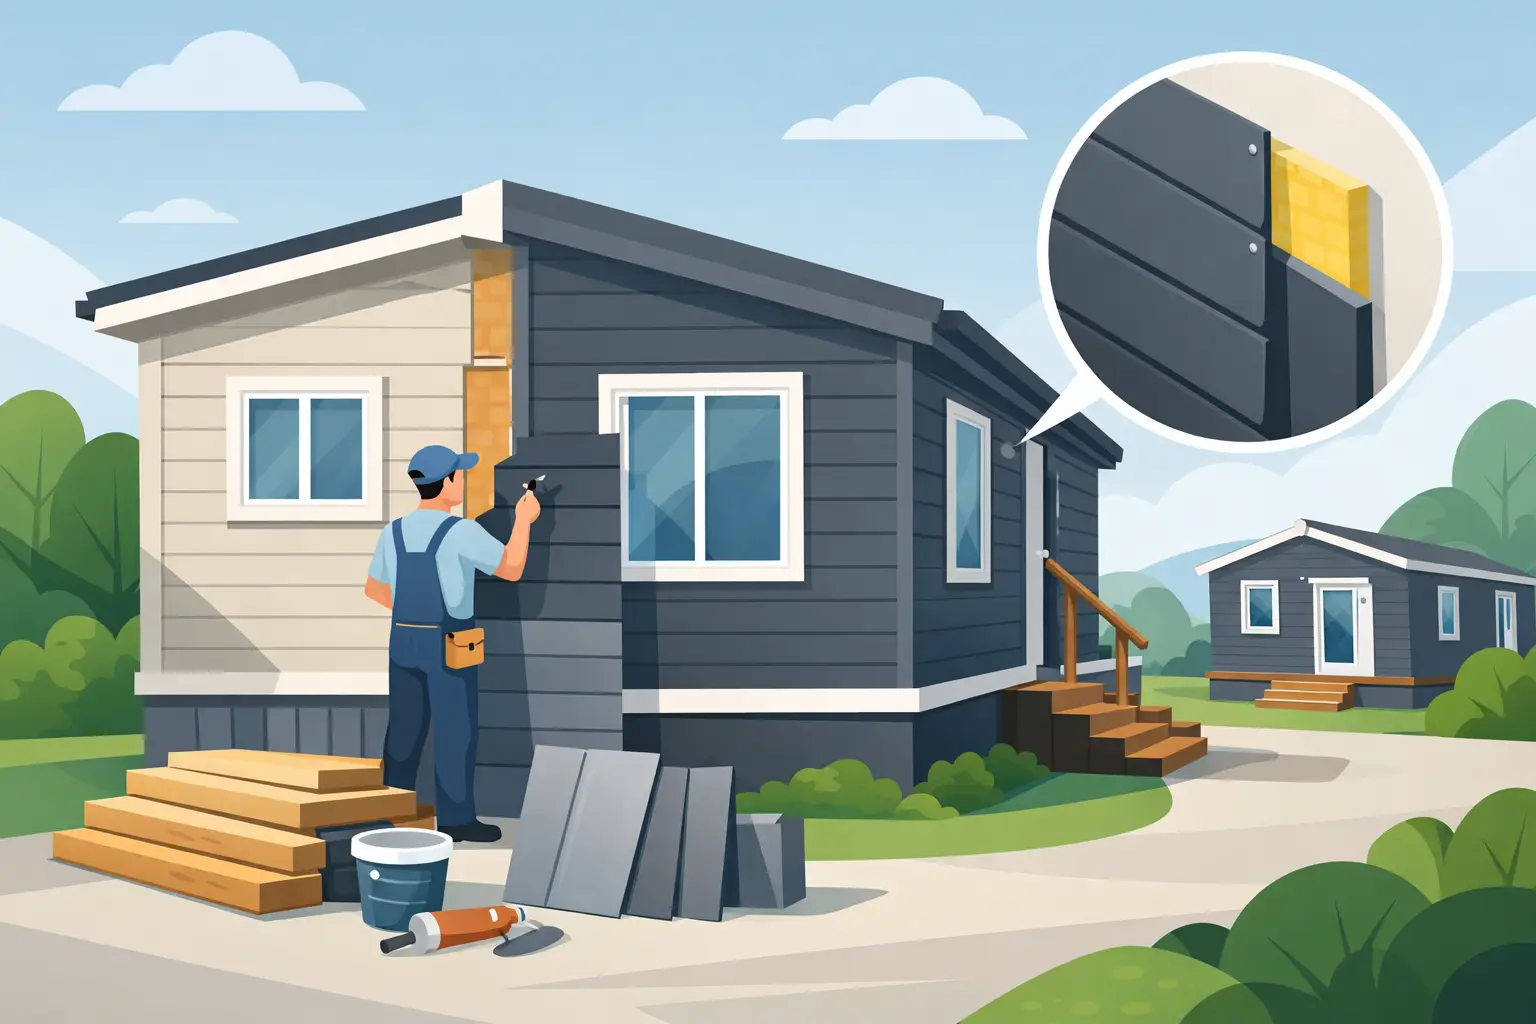
If water has been running behind the gutter for some time, look for staining on cladding, swollen trims and signs of damp around joints. These are warning signs that the work may need to include more than gutter replacement.
Guttering needs a gentle fall towards the downpipe. Too little fall allows water and debris to sit in the channel; too much can make the line look poor and may cause water to run past the outlet in very heavy rain.
Fit the outlet first, then establish the high point at the opposite end. A string line, spirit level or laser level helps set a consistent gradient. As a practical rule, the fall should be slight but continuous, usually around 10mm for every 6 metres of gutter run. The manufacturer’s guidance for the chosen system should always take priority.
Fix brackets at the recommended centres, normally closer together in exposed locations or where snow and heavy rainfall are common. Position a bracket near each union, stop end and outlet to support the fittings properly. Use corrosion-resistant screws of the correct length, fixed into sound material. Overtightening can distort plastic brackets, while weak fixings can allow the whole line to sag.
Stand back periodically and check the appearance from ground level. A gutter can be technically sloped yet still look uneven if brackets do not follow a straight line along the fascia.
Once the gutters, seals and downpipes are installed, flush the system with clean water. Begin gently, then use enough flow to check how the gutter performs under pressure. Watch every union, outlet and downpipe clip.
Water should travel cleanly to the outlet without pooling, running back towards the fascia or escaping over a joint. Check the ground drainage too. If the downpipe discharges beside the base of the home, extend or redirect it so water is carried to a suitable drain or safe run-off point.
Recheck the brackets after the first spell of wet weather. A small adjustment made early is far easier than dealing with a loose gutter after repeated overflow has affected the roof edge or exterior finish.
Replacing a short, accessible run of guttering can be manageable for a confident homeowner with the right equipment. It is different when the fascia is damaged, the roofline has moved, cladding needs to be removed, drainage is poor or access is unsafe.
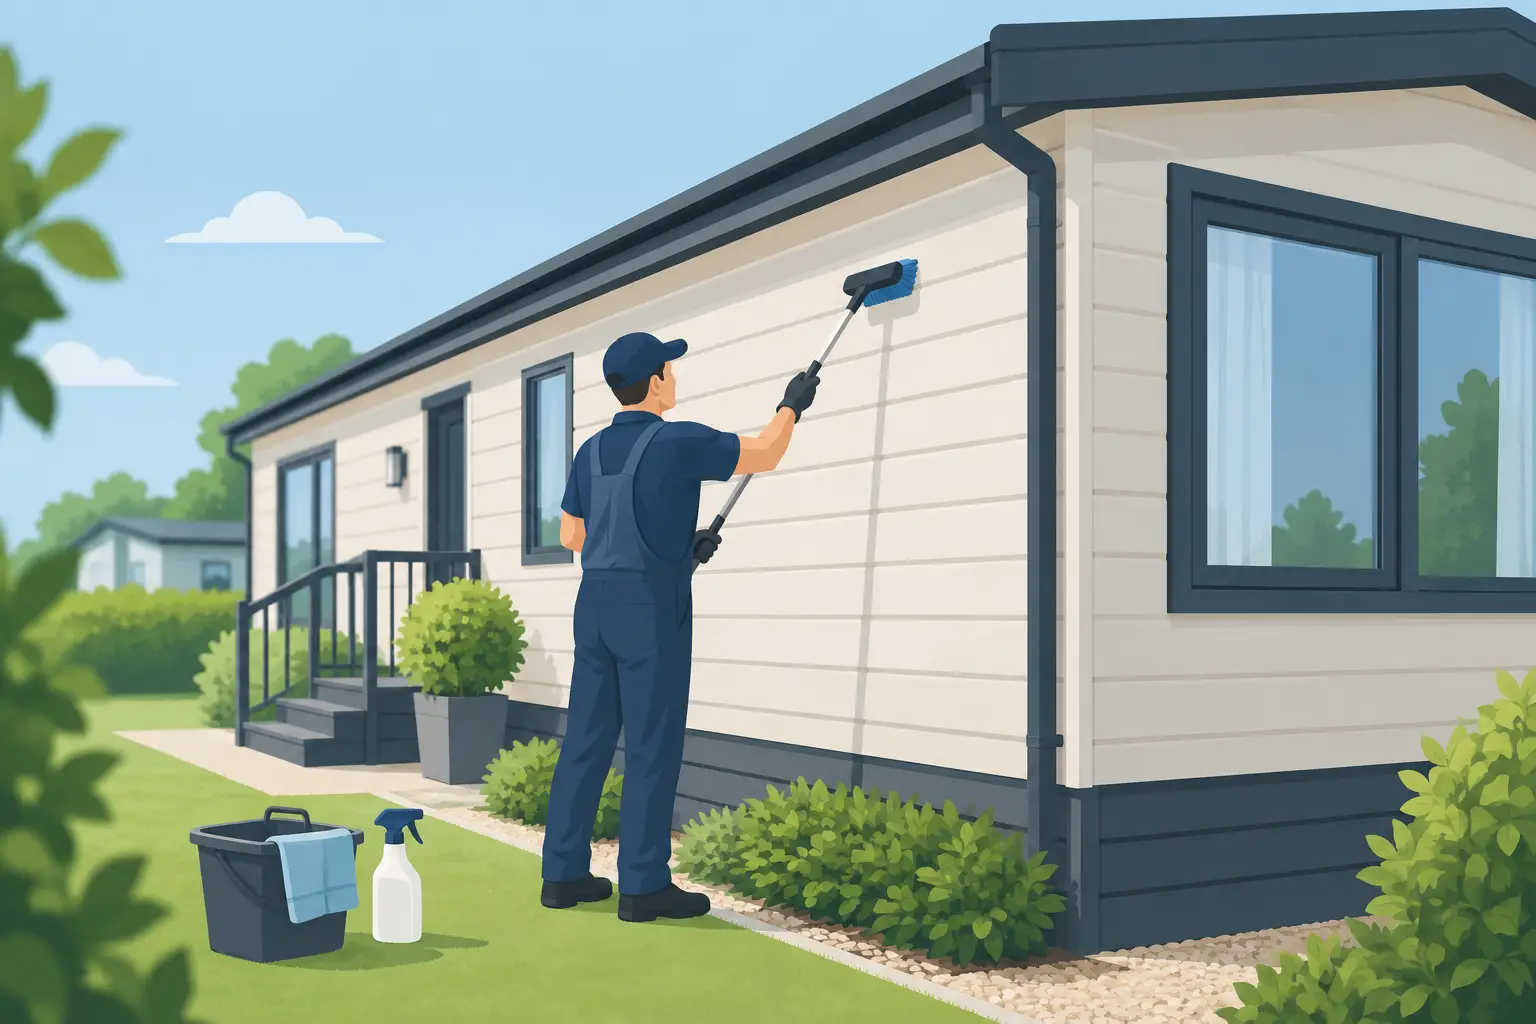
Park home specialists understand how guttering work relates to the wider condition of the roof, cladding and supporting structure. At New Look Park Homes Ltd, this broader view is central to refurbishment work: the aim is not simply to fit a new gutter, but to protect the home from the water damage and avoidable maintenance that a failed system can cause.
A straight, secure gutter line and properly directed rainwater will protect the exterior through every season. If there is any doubt about the roof edge, the fixings or safe access, arranging a professional inspection is the sensible next step.